Sunday, September 1, 2013

Easel cards

It has been a while since my last post. I have been busy making 200 wedding programs and over 300 table seating cards for a couple getting married on Sunday, September 1st. Congratulations to the happy couple!
 
I have returned to my craft room and excited to create more layouts, cards and any other craft that tickles my fancy.
 
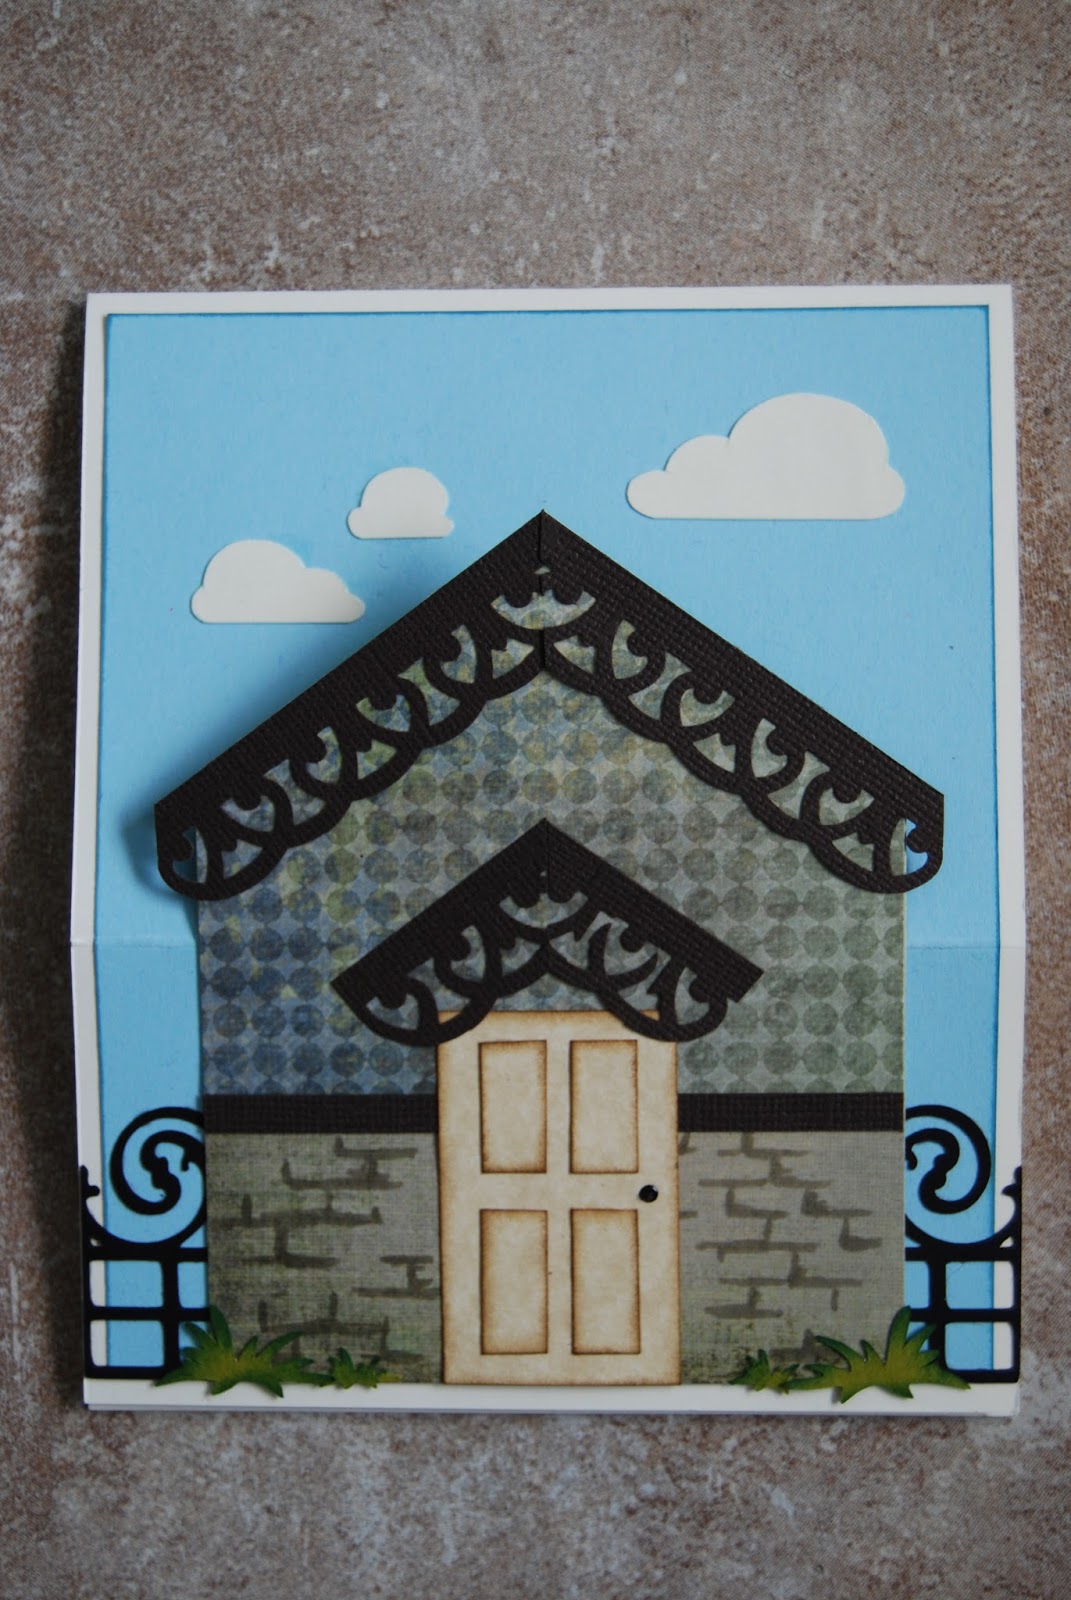
I created these two cards primarily for friends of mine but also for PJ Challenge's September Motivator.
 
The focus for the September Motivator is to get us to try something new and provide the steps or links to the steps so others can try it too.
 
Making these cards not only motivated me to try a new technique - easel cards but also to do something I haven't done in a very long time - colour!


Easel cards are a fantastic way to display your greetings and well wishes. They will lie flat when closed and then you prop them open for display.


Last fall I got my first glance at the mechanics behind an easel card at a Make & Take. What is a Make & Take? It is where someone teaches you how to make something and then you get to take it home, sometimes with written instructions. The easel cards are quite easy to make.

 
To create a 5 x 5 1/2 inch top fold card:
 
  • Cut a piece of paper to 5 x 11 (this will become the base of your card).
  • Cut a piece of paper to 5 x 5 1/2 (this will become the decorated top panel of your card).
  • Place the larger piece of paper, long side horizontally on your score board.
  • Score the paper at the 2 3/4 inch mark and then again at the 5 1/2 mark.
  • Fold the card in half at the 5 1/2 score line.
  • Decorate the top panel piece, the 5 x 5 1/2 piece of paper, as desired.
  • Adhere the decorated panel to the 2 3/4 inch portion of the base card, the one closest to the short edge.
  • Adhere a message or decorative element, using foam dots to give it some height, centered in the middle to lower portion of the inside of the card. This becomes the stopper when the card is propped open.

 
The Comfort Food card makes me giggle. The card was created following the same instructions as above. However, given  enough time, I usually go above and beyond. On this card I applied a second new technique; colouring with Odorless Mineral Spirits (OMS). Colouring with OMS is not difficult but it is a little time consuming. Essentially you are colouring the same image twice, once with the colouring pencils and then again with a blending stub and the mineral spirits. I love the way the technique blends the pencil lines and gives the drawing a much smoother, softer look. I am going to use this technique in my other drawings.


I learned this technique from Trudy Sjolander a guest blogger on CardMaker blog and you can find her instructions here.
 
Hope you enjoyed these new techniques as much as I did. I can't wait to try the double twisted easel card.
 
Until next time, happy crafting!
 
 
From my supplies inventory:
 
   For the Welcome Home card
  • Stampin'up - Baja Breeze classic ink pad
  • Tombow
  • Fiskar personal paper trimmer
  • Scotch Advance tape glider
  • Martha Stewart scoring board
  • Martha Stewart punch around the page - French Scroll
  • Cricut cartridge - Straight from the Nest (fence, tree 1), Pooh and Friends (Tigger 3 icon)
  • Distress ink - pine needles, gathered twigs
  • Pearl pen - Viva Decor - black
  • Copic W5
  • Zapdots - foam dots
  • Big Shot
  • Cricut Expression
  • Lil'inkers stitched mats die
  • Scrap paper
  • Recollections cardstock
  • Cardstock from Costco
  • DCWV's The Great Vacation Stack

 
For the Comfort Food card
 
  • Various cardstock
  • Whimsy stamps - Big Comfy Cake
  • StazOn jet black ink
  • Prisma colouring pencils #345, 368, 329, 328, 370, 313, 305, 342, 336
  • Copic markers W1
  • Quick Quotes paper - Julie je t'aime
  • Fiskar personal paper trimmer
  • Martha Stewart scoring board
  • Scotch Advance tape glider
  • Distress ink - seedless preserves
  • Crop-a-dile corner chomper
  • Stampin'up - Sincere Salutations stamps
  • Zapdots - foam dots
  •  
Supplies purchased:
 
For the Welcome Home card
  • Nothing
 
For the Comfort Food card
  • Blending stub
  • Gamsol orderless mineral spirits


Friday, July 26, 2013

Let the Season-ing Begin

This week Simon Says Stamp's Wednesday Challenge is to create a card with a summer food and/or drink theme.

The card I created was inspired by a gentleman at work who asked "Can you make a card with food?"

Well, yes, yes, I can; at least with a food theme.

It was also inspired by Kim Reid's "When I Need You" card in the CardMaker magazine, Summer 2013 issue. I enjoy the style of her card.

I had the idea, had the supplies and usually it ends there. However, due to the intent of Three Cs blog  "to get motivated to use the supplies I have hoarded for years and to push my creativity to the next level" and a very inspiring challenge from Simon Says Stamps I got working in my craft room getting thought to paper.


This card challenged me a bit more than the first three cards posted. I wanted to cut the little man using the Block Party Cricut Cartridge but did not have any skin colour paper. Nor did I like my choice of paper for his hair. I opted to cut these items in white and used Copic marker E01 & E11 to give him his skin tone and E37 & E77 for his hair colour. I also used Copic marker C3 to shade his chefs hat and the metallic items.


The other challenge was the salt and pepper shakers. I tried different techniques and products in order to achieve the metallic look for the bottle covers, as well as a salt and pepper look to its contents.

My first try was Glitter Ritz but that was too shiny.

The second try was colouring the different parts of the bottle with the Copic markers - not quite the result I wanted.

Third try was to emboss. Third try is always the charm. I cut out two sets of the salt and pepper shakers. The first set, I cut the tops off and embossed them with the Martha Stewart - sterling silver embossing powder. The second set, I roughly embossed the salt bottle with Martha Stewart's bright white embossing powder hoping to keep a grainy look to the powder. The pepper bottle, I embossed it in two layers. the first layer was embossed with black powder, then I reapplied the Big & Bossy embossing ink and lightly sprinkled with the bright white powder. I finished the bottles by gluing the metallic covers to the embossed bottles. The look that I got, with the supplies I had, is probably the closest I would get to looking like the real deal.


My photography skills did not pick up the details of the salt.


Items from my inventory used to make this card:
  • Various card stock and pattern paper
  • Block Party - Cricut Lite - Dad 1 and Grill 1
  • Copic markers
    • hair - E37, E77
    • skin - E01, E11
    • metal and shadows - C3
    • grass - YG63
    • sky - B0000
  • Tombow glue
  • Circut Expression
  • Recollections - brown cardstock
  • Stampin'up - Classic stamping pad - Cherry cobbler and Sahara sand
  • Circle stamp - unknown
  • Unity Stamp - Splatter it
  • Fiskar paper trimmer
  • Viva decor - Pearl pen - cream and black
  • Cricut cartridge - From my Kitchen - salt & pepper
  • Martha Stewart - sterling embossing powder
  • Big & Bossy - embossing ink pad
  • Marvy Embossing heat tool
  • Zapdots foam dots
  • Sharpie permanent marker
  • Stampendous! black embossing powder

Purchased:
  • Nothing 


Sunday, July 14, 2013

Like Father Like Son

My son looked like my husband from day one. The only thing he was missing was the goatee.

He is a year and a half now and loves to do everything like daddy; reads the flyers, dunks his grill cheese in ketchup, brings his sippy cup to the lounge chair - climbs in - sits down - relaxes and watches tv.

This drawing was fitting for a father's day gift. I know, I am a little late posting it.

I have always been fascinated with illusion type illustrations. When I saw this picture on Pinterest 3D Hand Image, it peaked my interest. I studied the method and the colours, practiced a couple of times, tested different mediums - markers, pencils and ended up liking the effects of Copic markers. The Copic markers I used were W5, W7, BG18, BG75 and BG72.

Here is the final project.


From my inventory:
  • Copic markers
    • W5, W7, BG18, BG75, BG72
  • Various scrap paper
  • Zapdots foam dots
  • Recollection white cardstock
 
Purchased:
  • The frame at Michaels (I cannot remember the company name, sorry)
  •  


Total Visits