Thursday, March 27, 2014

Chillin with my Peeps

Hello everyone,

Fantabulous Cricut challenged us to use birds in our paper project this week. I think I met the requirements of this challenge and then some.

I started by making my own background paper. I used a technique called "Blended Distress & Flick Technique" that I learned in Tim Holtz Creative Chemistry 101 online class. Then I randomly stamped various images, including an image of a bird, to complete my patterned paper.

A product I have been wanting to try is molding paste. I knew that I wanted a dark branch over top of my patterned paper but I didn't have a branch sticker, a branch stamp, nor a branch die cutting plate. However, I did have a tree stencil and some molding paste. Here was my opportunity to try this very popular technique. I taped off the areas of the tree that I did not want and applied the molding paste. After the paste was completely dried I coloured it using the E77 Copic marker.

A few months ago, I bought the "Straight from the Nest" Cricut cartridge without much of a chance to use it. The FCCB challenge #203 was the perfect time to take this cartridge out for a test run. "Chillin with my Peeps" inspired the entire card. The image and the saying reminds me of a few of my friends.

I searched for the perfect combination of paper for this image without much success. I had the red and the black but nothing that was quite right for the bird. I have the philosophy that if you can't find what you are looking for, then make it yourself. I cut the image out of white cardstock and coloured the little bird using Y13 and Y35 Copic markers.


I hope this card puts a smile on your face as it does mine.

Have a great day and don't forget to chill with your peeps!


Items used from my inventory:
  • White cardstock - Recollections
  • Coloured cardstock from my scrap pile
  • Patterned cardstock from unknown source
  • Distress inks (I don't know what I would do without my distress inks)
    • Iced Spruce
    • Shabby Shutters
    • Forest Moss
    • Weathered Wood
    • Victorian Velvet
    • Pumice Stone
  • Inkadinkado - Flourishes stamp
  • Straight from the Nest Cricut Cartridge
  • Golden gel mediums - Light molding paste
  • The Cafters Workshop.com - Branches Reversed stencil
  • Stampin'up 2-way glue
  • Copic Markers - Y13, Y35, E11, E37, E77
  • Scotch Advanced Tape Runner
  • Zapdots foam adhesives


Items purchased:
  • Nothing


Friday, March 7, 2014

Paper Organization

Hello,
PJ Challenge asked us to share one of the ways we organize our crafting supplies. Unfortunately, I am too late to link this post to the PJ Challenge blog but I want to share my organization secrets just the same. I am going to share how I organize my papers.
Before I organized my collection of over 800 pieces of paper, I would get quite frustrated when I sat down to create a scrapbook page because it would take me a very long time to find the right papers for the layout. To help with my paper selection I have divided my full sheets of paper into 6 categories; solid colour cardstock 8x11, solid colour cardstock 12x12, one sided patterned paper 12x12, two sided patterned paper 12x12, children themed paper and Christmas/Winter Holidays themed paper. I use Cropper Hopper 12 x 12 and 8x11 paper holders, Scroll Texture Box by Office Harbour and various art boxes purchased at Wallacks or Michaels.
In one container are the solid colour 12x12 sheets of cardstock. In a smaller container are the solid colour 8x11 sheets of cardstock.
 
I have all my patterned paper seperated into two categories. In one container are one sided pattern paper organized by colour and in the other are the two sided pattern paper also organized by colour. This has made my life so much easier. In the two sided paper container, I shuffle through each sheet one way, then flip the container around and shuffle through the other side of the papers. Time is saved by removing the one sided papers from the two sided papers.


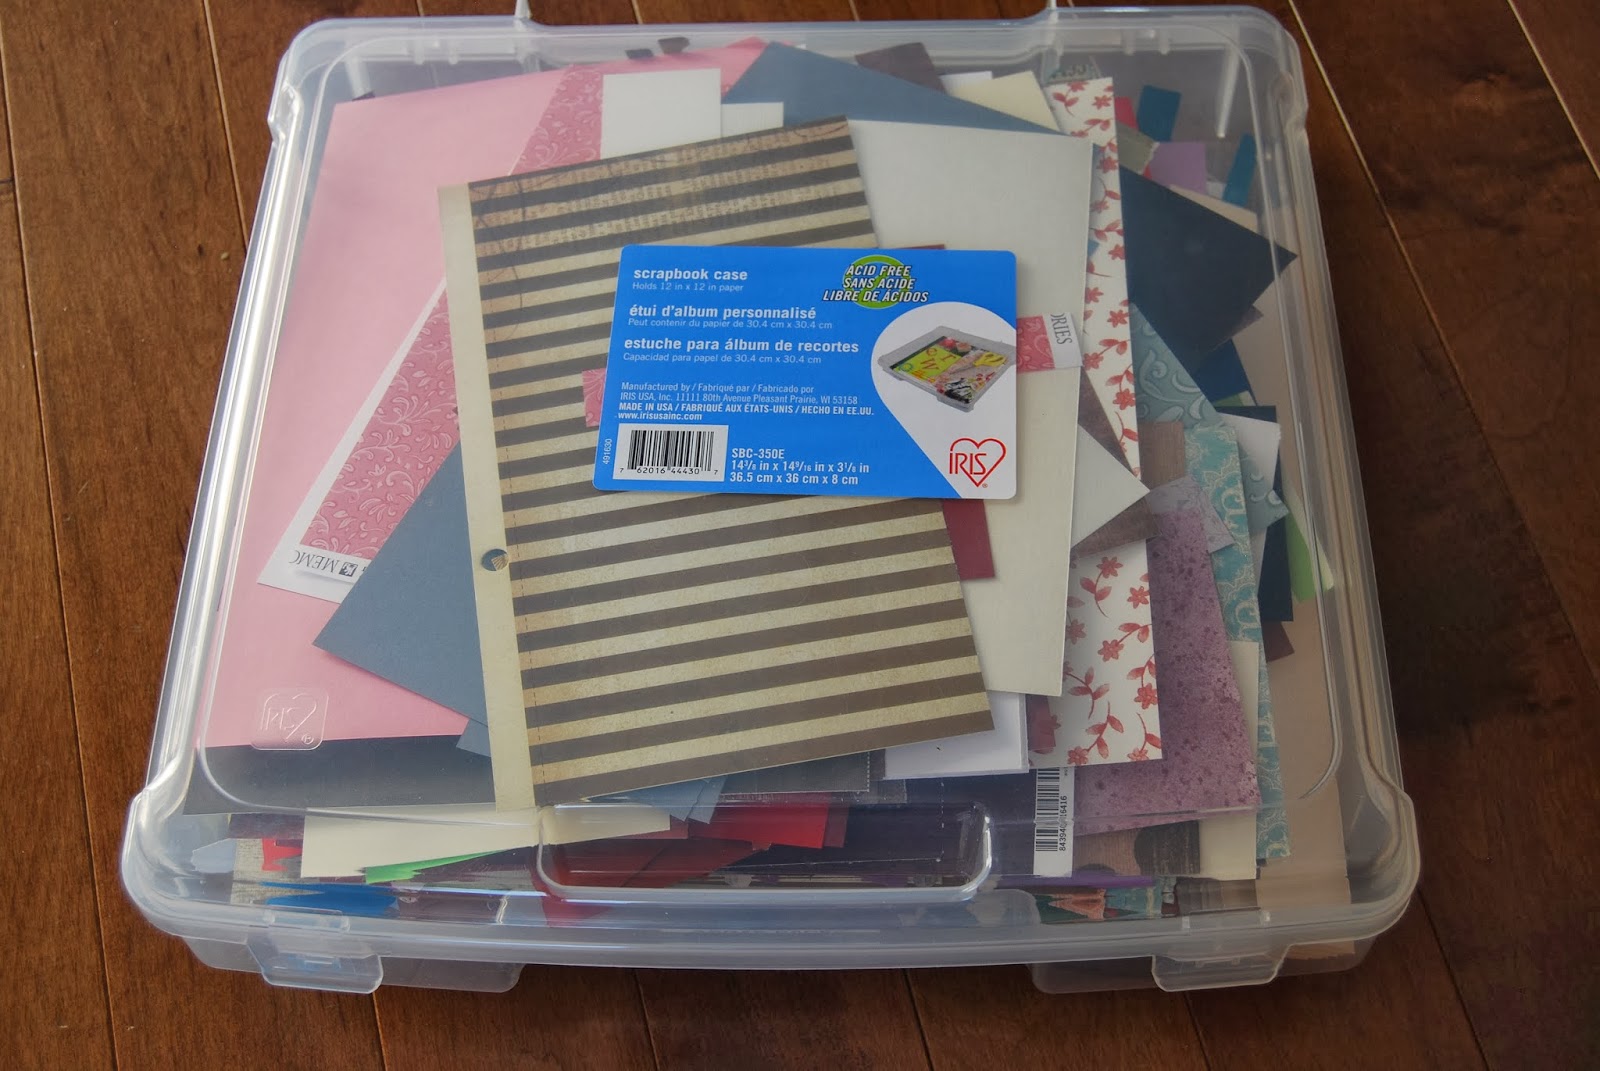
One of the other things I do is organize my scrap papers. Any paper that is 12 inches long and larger than 6 inches wide goes into a Scroll Texture Box with a chipboard label hanging from the handle (the label maker tape would not stick). Any cut paper that is 12 inches long by 6 inches or less goes into another similar container.


Through my years of crafting I have come to realize that I can't look past the shape that was previously cut out of the scrap paper to see that I can use the left over in my new paper project. Therefore, when I am finished a project I trim any remaining pieces to a square or a rectangle removing any evidence of a shape or curve.These pieces are placed in a scrap container. 


Specialty papers such as velum, cork paper, sequence paper and so on are place in a seperate container.
These organization methods have saved me plenty of searching time, as well as, cleanup time.
I hope that it may help you as well.
Till next time. Happy paper crafting.

Total Visits